Tools
Rendering
Create PNG images from 3D models
Use rendering when you need an image of a 3D model instead of another 3D file.
This is for product shots, architecture previews, marketplace images, internal reviews, or the familiar "can you make this model look nicer?" request.
Upload a model
Open convert3d.org/render-model and upload a supported 3D file.
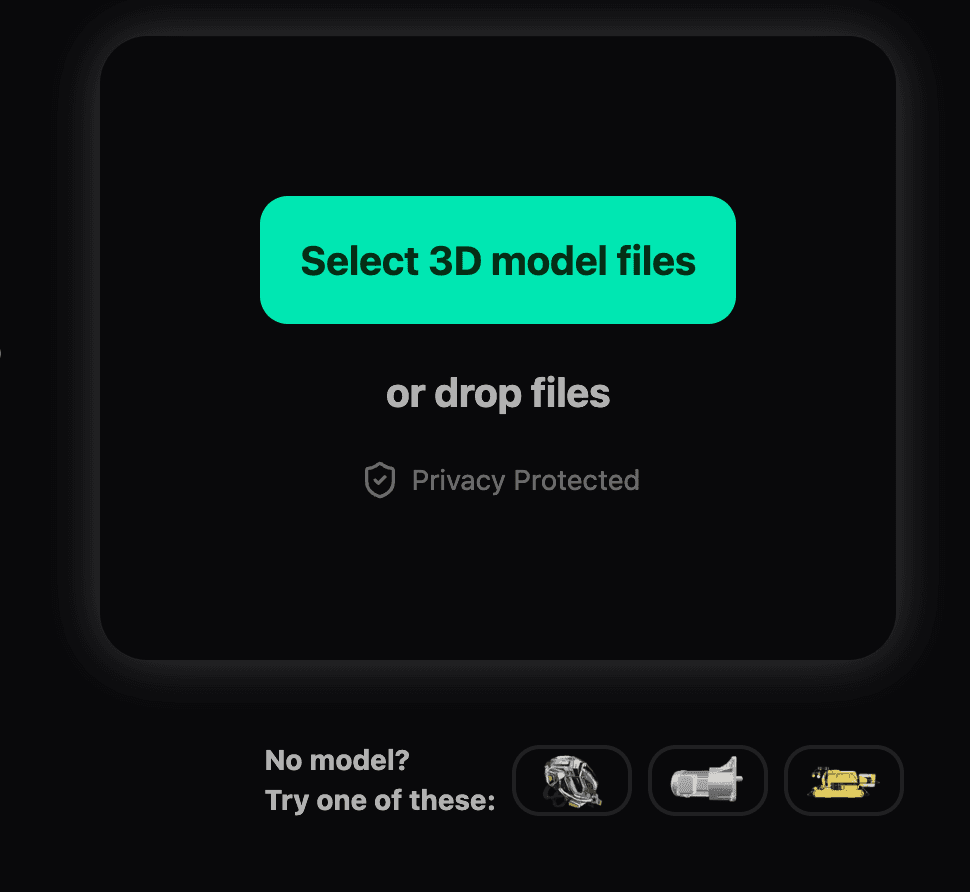
If you do not have a model ready, use one of the sample models below the upload area.
For predictable renders:
- Use
glbwhen possible. - Check that textures are included.
- Use a model that is already centered and scaled reasonably.
- Inspect CAD or scan files before spending time on render settings.
Move the camera
The camera view is part of the render. If the model looks good from the wrong angle, the render will also be from the wrong angle. Annoying, but at least easy to fix.
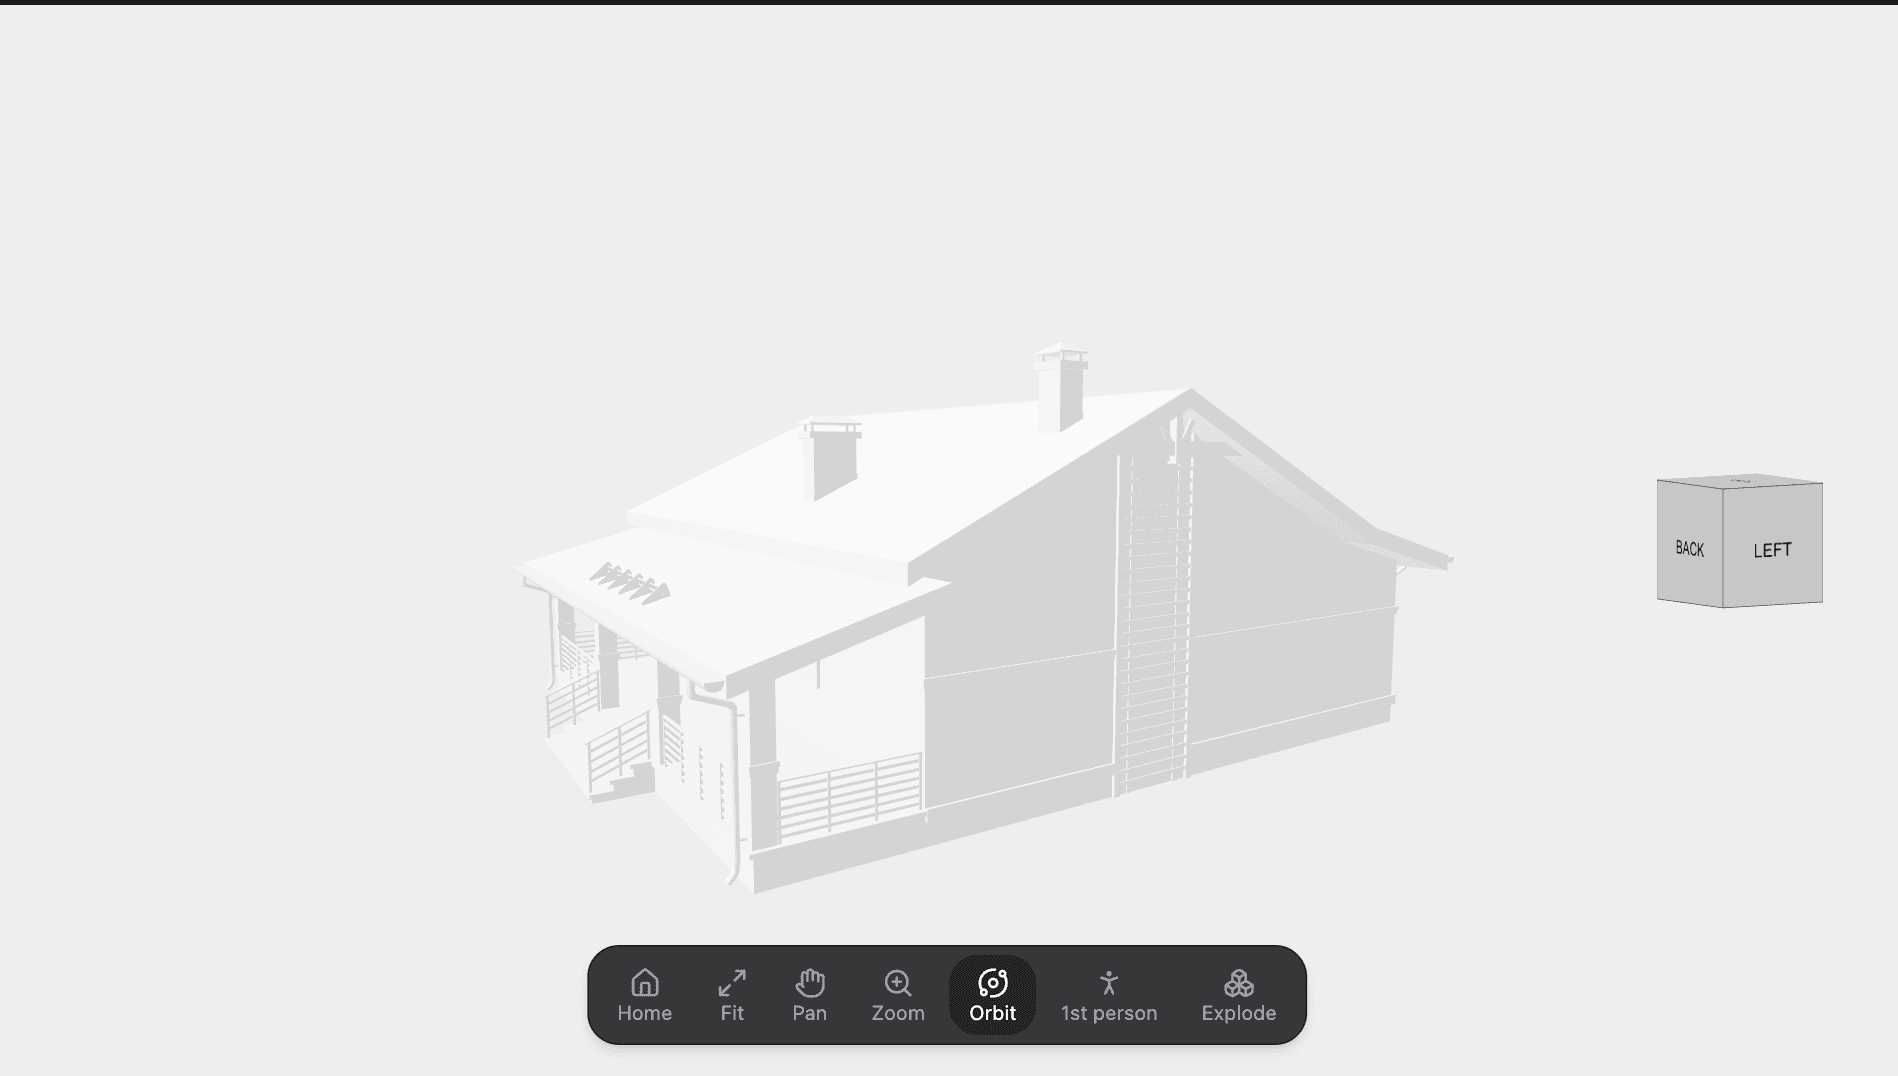
Use the camera toolbar to reset, fit, pan, zoom, orbit, walk in first person, or explode the model.

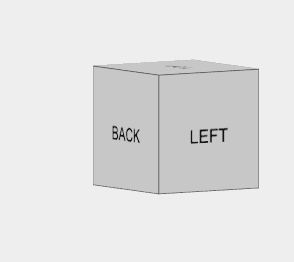
The cube shows the current orientation.
Choose render mode, size, and shape
The controls at the top of the prompt area choose the render path, output size, and aspect ratio.
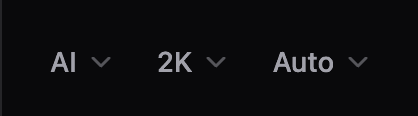
- AI uses the prompt and presets to create a styled render.
- 2K controls output size.
- Auto lets the render choose the aspect ratio from the current view or preset.
Use standard rendering when you want a direct image of the current model view. Use AI rendering when you want the model restyled, relit, or placed into a more finished scene.
Preserve the camera angle
Turn on Preserve camera angle when the current model view matters.
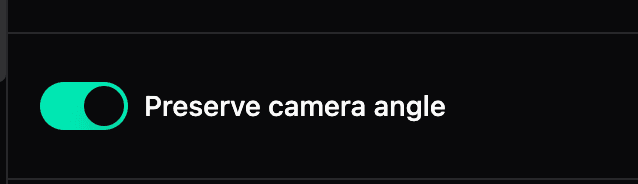
This is useful when you already framed the model and only want the render style to change. Turn it off when the preset can choose a better camera angle.
Use presets
Presets are the fastest way to get a specific look without writing a long prompt.
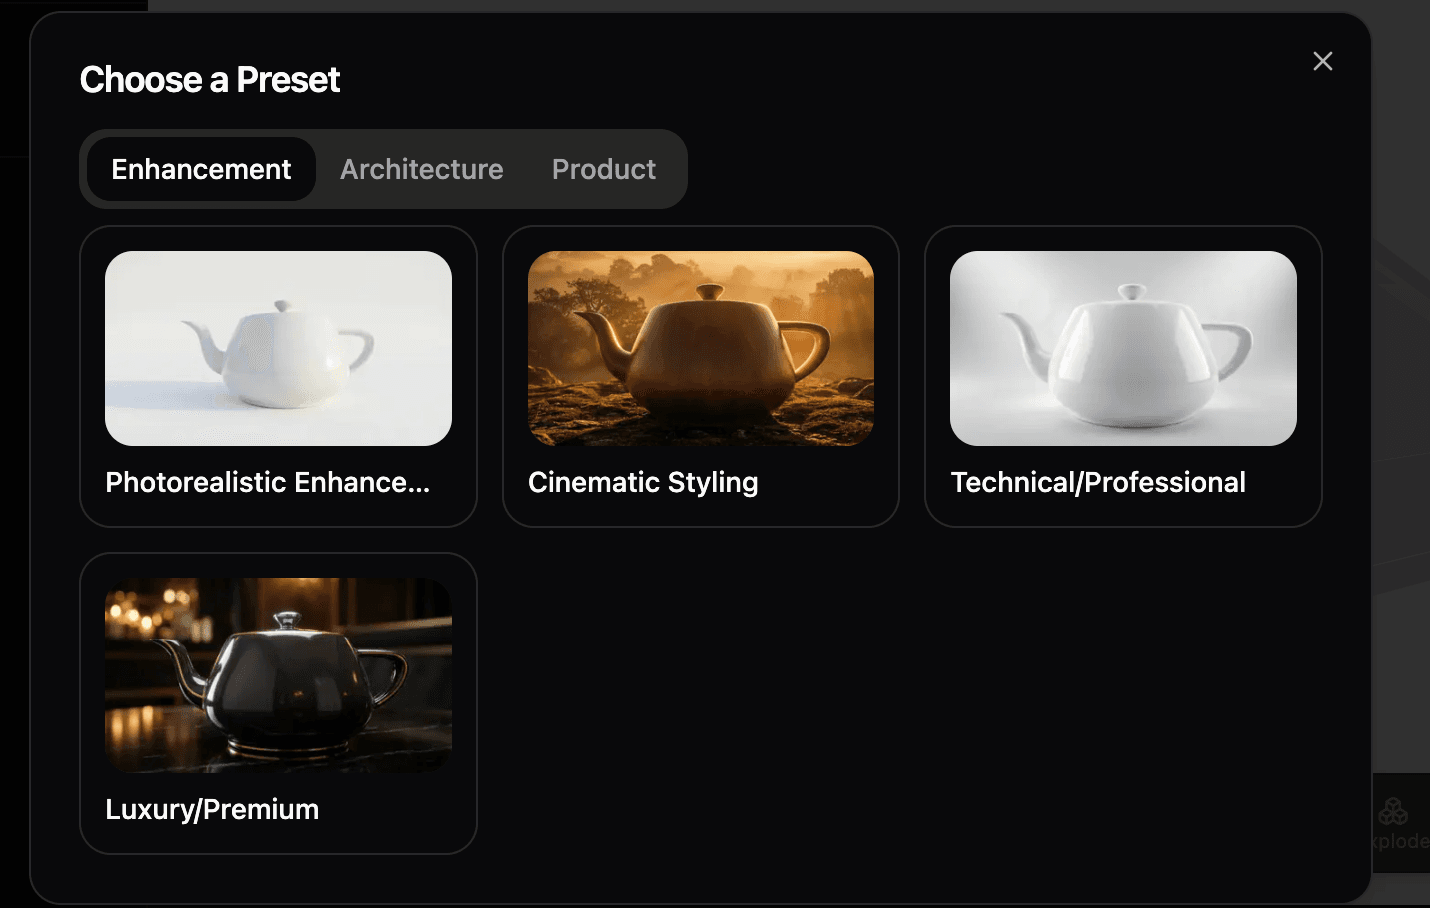
Pick a category, then choose a preset. The preset fills in the style direction for the render.
After choosing a preset, you can still adjust the parts that matter.
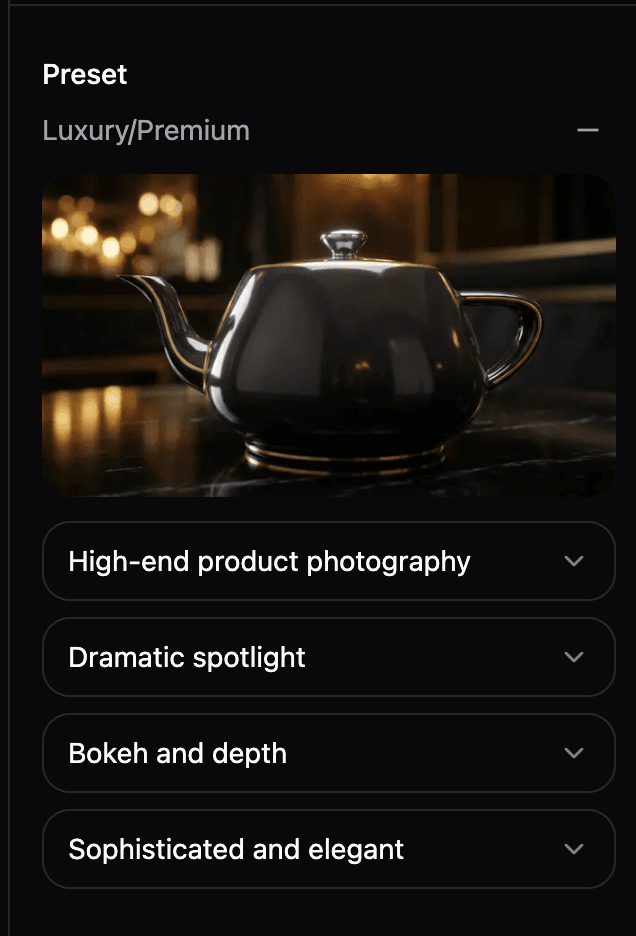
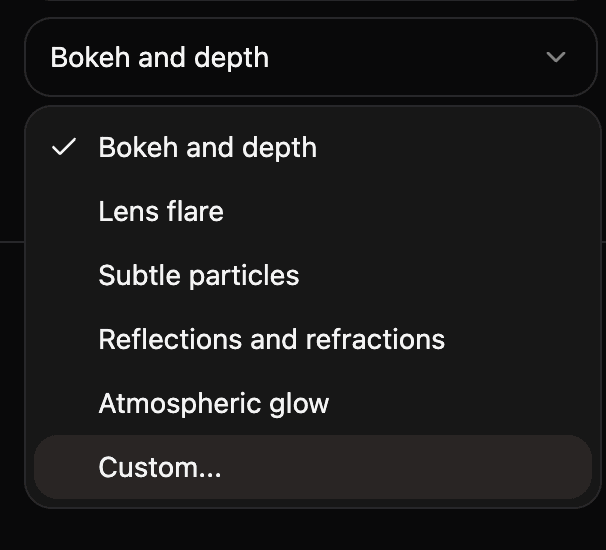
Some preset fields are menus. For example, visual effects can use bokeh, lens flare, particles, reflections, glow, or a custom value.
Write the prompt
Use the prompt box for the part the preset does not know.
Good prompts are specific:
leather chair with classic scandinavian woodwhite ceramic teapot on a marble countersmall cabin at dusk, warm interior lights
Short is fine. The prompt does not need to sound like a photoshoot brief.
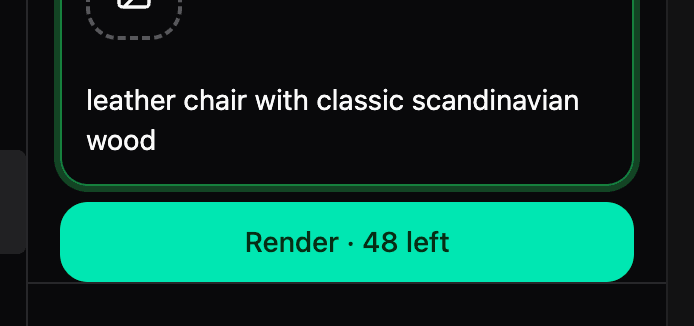
If the render button shows a number, that is your remaining render count.
Edit an existing render
After a render is finished, you can use it as a reference image and ask for a change.

When an image is being edited, the prompt area shows Editing image.
Describe what should change.
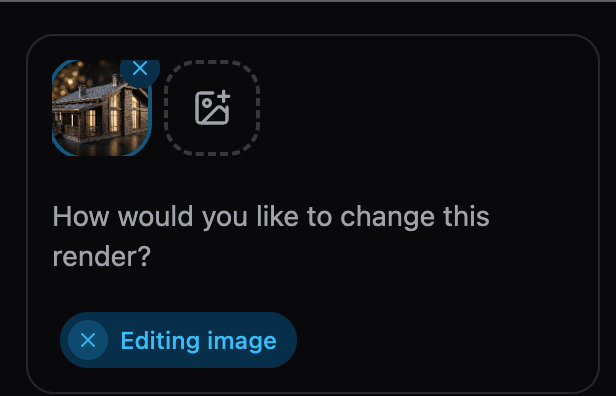
Examples:
make the wood lighteradd warm window lightremove the backgroundmake it look like high-end product photography
Download the render
When the render is ready, download the image.
If you do not like the result, keep the same model and adjust one thing at a time: camera, preset, prompt, or reference image. Changing all of them at once makes it harder to know what helped.
Common problems
The render is from the wrong angle
Move the camera first, then render again. Turn on Preserve camera angle if the AI render keeps choosing a different view.
The model looks washed out
Try a different preset or lighting option. If the source file came from CAD, it may not have useful materials.
Textures are missing
Check the source file. obj files often need .mtl and texture files. gltf files may need .bin and texture files.
For rendering, glb is usually the easiest source format because it keeps the model and textures together.
The AI result changes too much
Use a shorter prompt, keep Preserve camera angle on, and use the existing render as a reference image.
The render button is disabled
Check that a model is loaded and that the render settings are complete. AI rendering may also require sign-in and available render credits.